Embarking on a DIY insulation removal project can be a daunting yet rewarding task for many homeowners. Whether you’re looking to upgrade your insulation, address damage, or improve your home’s energy efficiency, removing old insulation is the first crucial step. This guide provides practical tips and strategies to ensure your DIY insulation removal is safe, efficient, and effective, equipping you with the knowledge to tackle the job confidently.
Preparing for Insulation Removal
Proper preparation is essential for a successful DIY insulation removal project. Here’s how to set the stage for a smooth process:
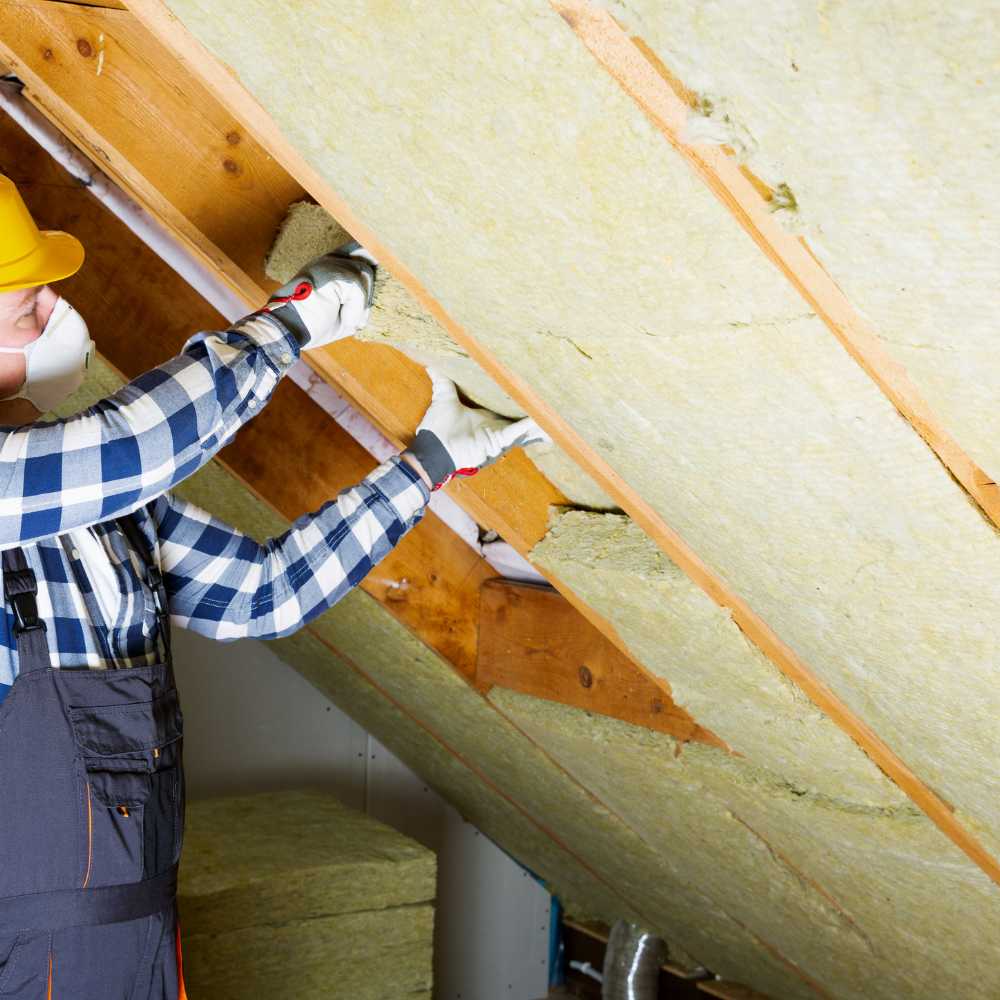
- Safety Gear: Before you start, equip yourself with the appropriate safety gear. This includes a respirator mask to avoid inhaling dust and fibers, goggles to protect your eyes, gloves to safeguard your hands from irritation, and a disposable coverall to keep insulation off your skin.
- Tools and Equipment: Gather the necessary tools and equipment, such as trash bags for disposal, a vacuum cleaner designed for insulation removal (if applicable), and a stable ladder for accessing hard-to-reach areas.
- Area Preparation: Seal off the work area from the rest of your home to prevent the spread of dust and particles. Use plastic sheeting and tape to cover doorways, vents, and other openings. Ensure adequate ventilation to the outside to keep the air in your working area as clean as possible.
Strategizing Your Removal Approach
Approaching insulation removal strategically can make the task more manageable and minimize potential issues:
- Start Small: Begin with a small, inconspicuous area to get a feel for the work and to understand the challenges involved with your specific type of insulation. This step can help you adjust your strategy before tackling larger sections.
- Work Methodically: Remove insulation in sections, working from the farthest point back towards your exit to avoid walking over areas you’ve already cleaned. This method helps in maintaining a clean work environment and ensures that you don’t miss any spots.
- Disposal: Proper disposal of old insulation is crucial. Use heavy-duty trash bags to contain the material and prevent fibers from escaping. Check local disposal regulations to ensure you’re complying with laws regarding insulation disposal, especially if you’re dealing with materials that may contain asbestos or other hazardous substances.
Handling Challenges and When to Call Professionals
While many aspects of insulation removal can be handled on a DIY basis, some situations call for professional intervention. If you encounter mold, asbestos, or other hazardous materials, it’s time to call in certified professionals who have the experience and equipment to handle these dangers safely. Similarly, if the project’s scope is beyond your comfort level or if you’re unsure about the safety of your insulation, seeking professional help can ensure that the job is done correctly and safely.
Embarking on a DIY insulation removal project requires careful preparation, a strategic approach, and an understanding of when to call in professionals. By following these tips and strategies, homeowners can navigate the complexities of insulation removal, ensuring a safer and more efficient process. This not only paves the way for improved home insulation but also contributes to a healthier living environment.

